Welcome to my short Introduction to Wireshark
If you’re completely new to Wireshark, this short introduction will help you to capture network traffic on your server or client and to get a first feeling what is going on in your network.
Time to read:
- 5min
Target Group
- Beginner’s Level
Content
- Download Wireshark
- Open Wireshark and capture network traffic
- Capture Filter VS. Display Filter
- Capture network traffic with a specific “capture filter”
- Save File
Download Wireshark
The first action needed to start capturing or analyzing your network traffic is to download Wireshark (free). You can download it from here.
I want to keep this introduction short – for that reason I won’t go through the installation process. It is self-explaining.
Important thing to know is: There is no restart required after the installation! Thank you Wireshark – this is very critical in my opinion. Sometimes you need to perform an ad-hoc analysis on a production server and you can’t perform a restart without proper change management.
Open Wireshark and capture network traffic
After the installation process you can open Wireshark. You need to open it as Administrator otherwise your interfaces won’t be shown.
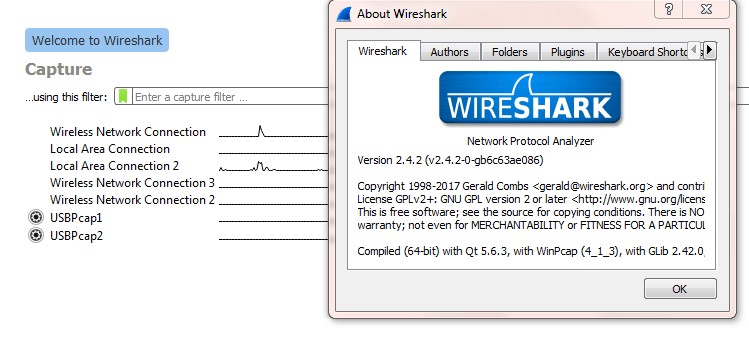
Welcome to the start screen:
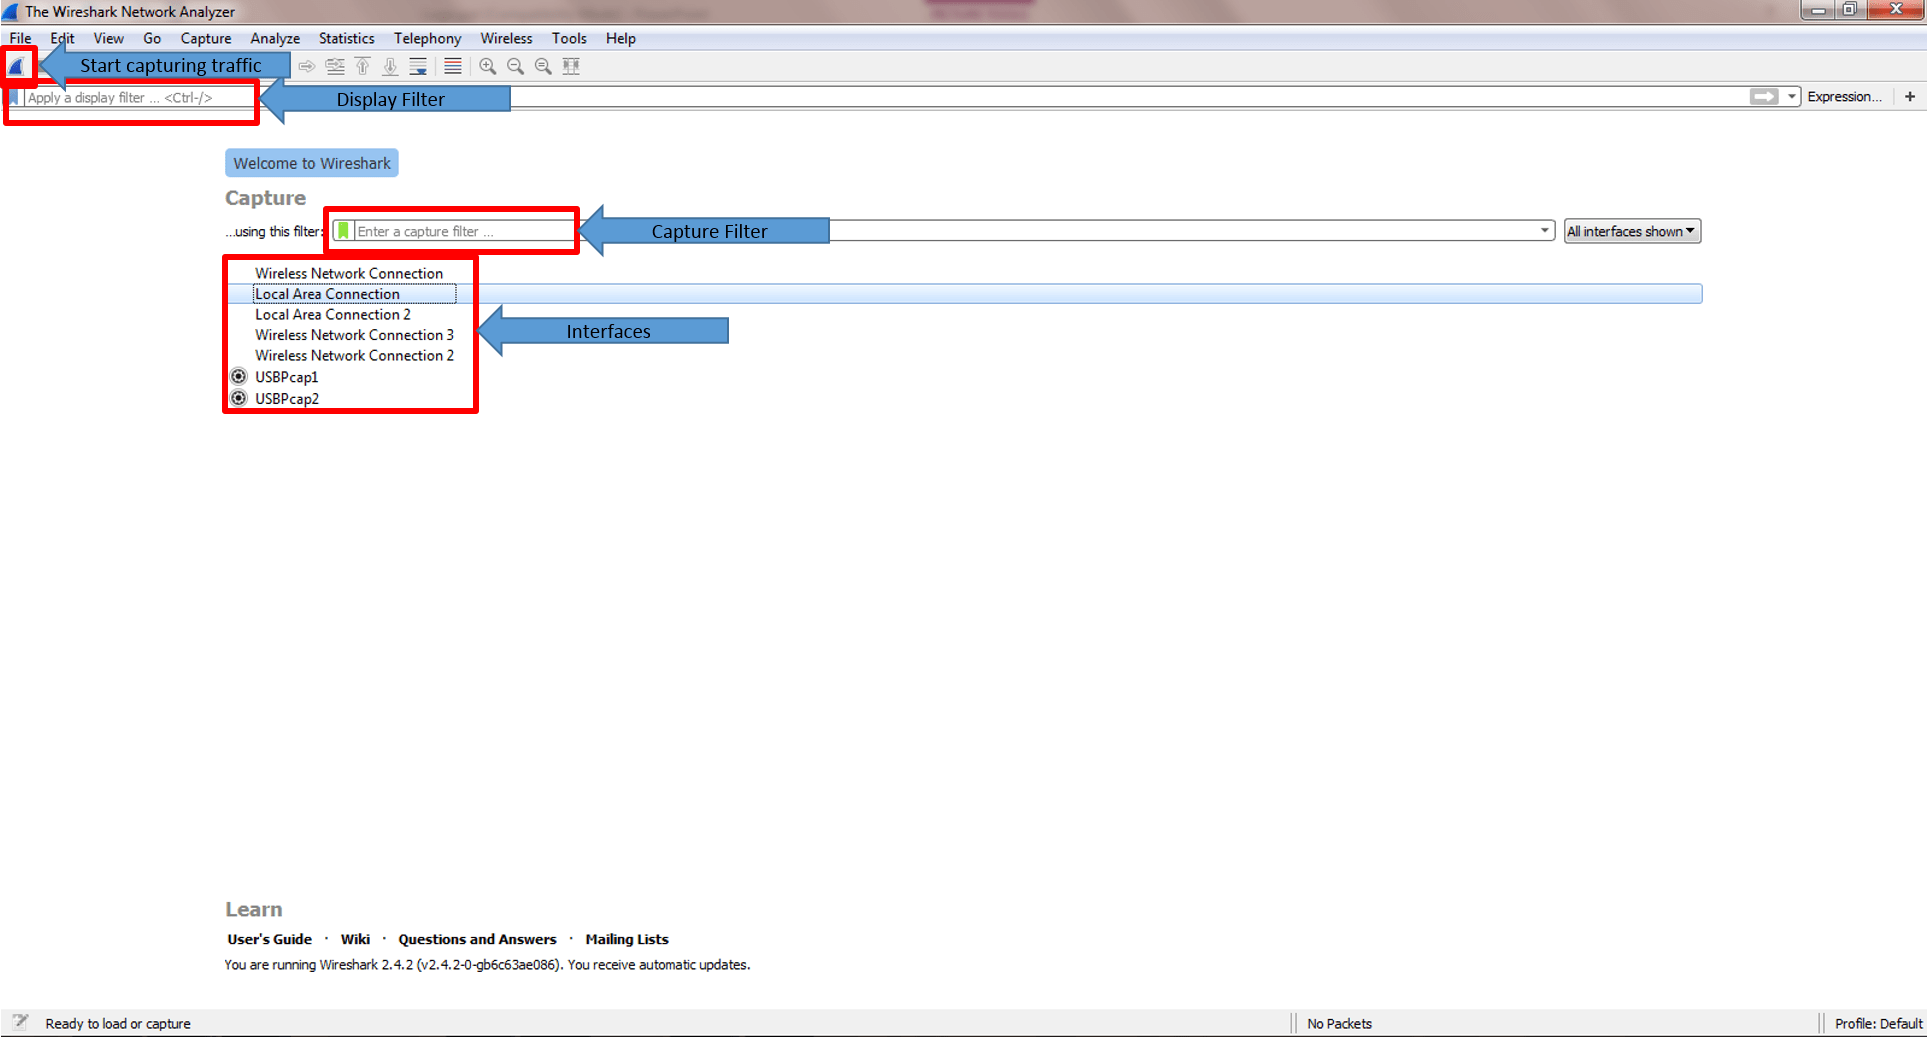
Just try it:
Click on one of your interfaces >>> Start capturing traffic
If you never captured network traffic before you will be surprised how many packets you see.
Capture Filter VS. Display Filter
I added this section to avoid misunderstandings. At that time when I started to use Wireshark I would have been happy If I was informed about it from the start.
Even the difference is already in the names “Capture” VS. “Display”, I want to mention it.
You can use “Capture Filter” to tell to Wireshark to concentrate for example only on a specific IP address or TCP port. Wireshark will capture those packets and will “ignore” the rest of them.
Important to know is that really only that packets will be captured. If you understand later that you should have captured also packets from other IP’s – it will be too late and you have to repeat capture traffic.
The benefit of using a “Capture Filter” is if you really sure that you only need to capture a specific Conversation / Port, it will save you some data and the size of the captured file will be reduced.
On the other hand the “Display Filter” helps you during the analysis of your captured file by displaying only specific packets (e.g. IP’s or Ports).
Personally, I try to avoid using “Capture Filter” in case I know that the size of the file will be acceptable (max. 1 GB).
I do it because sometimes I want to see what the server or client is doing else and if there are packets which could have influenced also my packets in scope.
The syntax of the filters will be covered in Part 2 of my introduction.
Capture network traffic with a specific Capture Filter
So let’s go ahead and just capturing network traffic which are received or sent to my server of tcpdump-it.com (173.212.216.192).
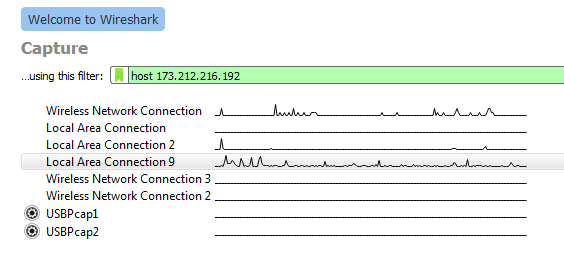
The filter we will use is “host 173.212.216.192”. “host” tells Wireshark to concentrate on everything what is related to 173.212.216.192.
Select your interface and paste the filter in the “using this filter:” field. If it was set properly the field will be shown with a green background.
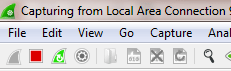
With a click on the blue small Wireshark symbol on the top left corner the capture will start and you will see the packets flowing.
Save File
Usually we need to save the file for further investigations or you need to send it to your network department.
You can stop the capturing with a click on the red square button.
The next step is not different than to other applications. Click on File >>> Save As….
Summary
If you have never used Wireshark before and someone ask you for sending him a tcpdump, this article should cover all the steps needed.
At this point I think it is also worth to visit the “Ask Wireshark” page which is a question/answer community.
I will update this article with new information which might be interesting to know.
If you want to know more about the Wireshark basics, join my Slack Workspace or send me an email.
Stay up-to-date and subscribe to my Newsletter!
Next article >>> “Introduction to Wireshark – Part 2“
1 thought on “Introduction to Wireshark”